Installing the Visualware BCS on Windows
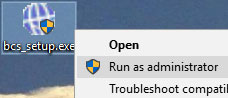
Once the installer has been downloaded locate it on your computer, right click the icon and select Run As Administrator
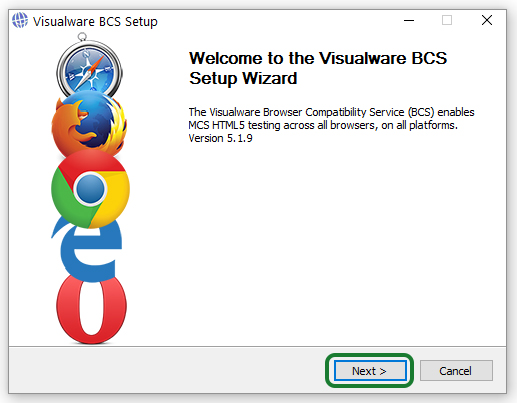
Click the Next button to go to the next step.
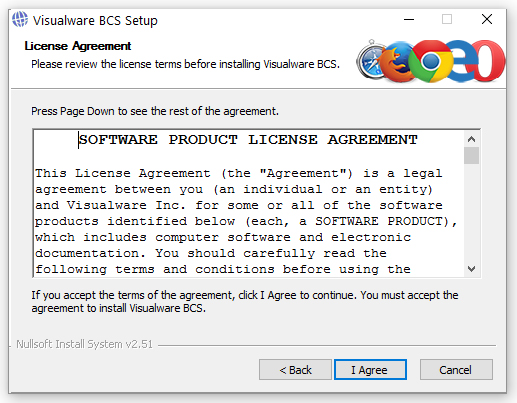
Click I Agree to accept the license agreement.
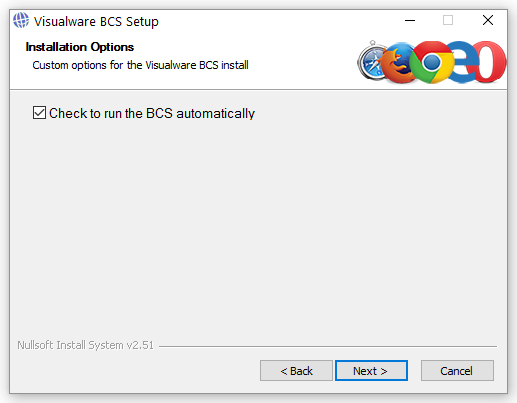
We recommend leaving the Check to run the BCS automatically check box checked (admin users only, non admin? Click here).
The benefits of this include automatic updates (the user will always be asked permission before updating) and running silently.
This means the user won't have to start the BCS every time they want to perform a test.
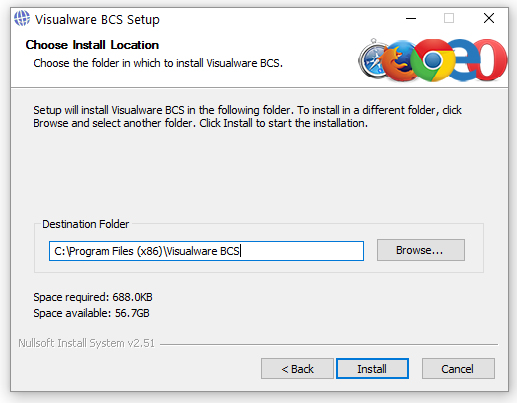
Specify the installation folder and then click Install.
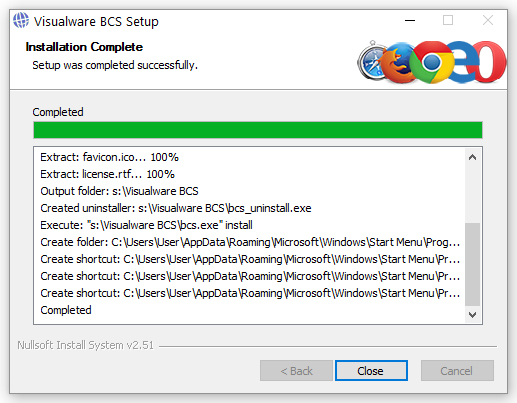
The installation should complete successfully. Click Close to complete the installation.
Non Admin Installation
When the installer is run without admin privileges the run automatically checkbox will be greyed out. When this is the case the default installation directory is the users Desktop.
The installation will place a filed named thebcs.exe on the Desktop. Double click this file to start the BCS. A small dialog will popup stating that it is running in the background.
The BCS will NOT start up on reboot in this scenario.
Useful links:
Verify the BCS is set to run automatically
After verifying the BCS is running, check that it can connect